Back to my bow obsession...
In my defense, my daughters loved their bows.
This is how I make cork screw bows.
You'll need a 1/4 inch dowel rod, a hot glue gun, a clip,
3/8 inch grosgrain ribbon, and a lighter.
You'll also need scissors, an oven and water,
but I forget or couldn't get those in my picture.
You might also need a saw.
The ribbon needs to be acrylic, because acrylic
melts just a little in the oven (in a later step)
and this is what makes it curls.
The bow I'm making has around 96 inches
of ribbon and took two dowels.
FIRST!!!! Make sure your dowel isn't too long!!!!
You might have to cut it to make it fit in your oven!!!
(This is where you might need that saw!!)
After you know your dowel will fit,
tie your ribbon to one end of the dowel.
Wrap your ribbon round and round the dowel
until you get about four inches from the other end.
Tie your ribbon off. I wanted lots of ribbon in
my bow, so I actually repeated this on another dowel.
Now get your ribbon good and WET by running
it under tap water. I didn't take a picture of this,
so this will test if you are reading carefully!!!!!!!!!
After you have wet your ribbon,
you need to stick it in the oven.
The oven should be set to 250F.
Don't make it hotter to speed up the process,
and don't take a nap or do the vacuuming while
your wooden dowel and ribbon are in the oven.
You DON'T WANT your ribbon to
touch the metal rack of the oven!!!
This is why we left four inches of dowel uncovered.
Stick your uncovered dowel end
in between two wires on your oven's rack
so the dowel sticks up at an angle and
THE RIBBON DOES NOT TOUCH THE METAL.
Bake your ribbon until it is completely dry
and nice and toasty warm. About 20-30 minutes.
When you unwrap your cooked ribbon,
it will be permanently curled!!! Make lots of different colors!!
Now snip your ribbon into pieces.
Curled, they are about the length of an adult finger.
Stretched out, they are about 8 inches long.
(Sorry about the brown ribbon for the rest of the pictures,
but I actually need a brown bow for a certain outfit!)
My bow ended up with 12 little pieces in it,
but it is not rocket science,
so if you have a few more or less, don't worry!
Now here is the dangerous, exciting and
extremely anal retentive part!!
Grosgrain ribbon tends to unravel over time.
To keep this from happening, and to ensure your bows will
look nice and tidy for years to come, you take a lighter,
just a regular cigarette lighter will do, or use a candle...
and burn the ends of all your little ribbon pieces.
They DO NOT need to catch on fire.
Just hold them close to the flame,
and they will melt just a little
and the ends will be sealed.
You can skip this part if you
don't care what your bows look like,
but I will be very disappointed in you.
Now take all your curled pieces and stack them up.
You need to hold them together in the middle.
Now you need a little piece of ribbon, about
1.5 inches long to wrap around your stack of ribbon.
Put a little dot of hot glue on your 1.5 inch ribbon piece and
anchor it to your stack of curled ribbon.
This is what will hold all the layers of your curly bow together,
so you want to make sure that a
little glue touches all the layers of curled ribbon.
Then squirt more glue in place and
finish wrapping the little piece around.
This is what it looks like...
Now, we want to cover our clip
with the same color of ribbon.
Cut your ribbon 1/2 an inch longer than your clip.
Apply hot glue to the top of
your clip, and stick the ribbon on.
Then turn your clip over and glue
the ends of the ribbon to the other side.
Your covered clip will look like this.
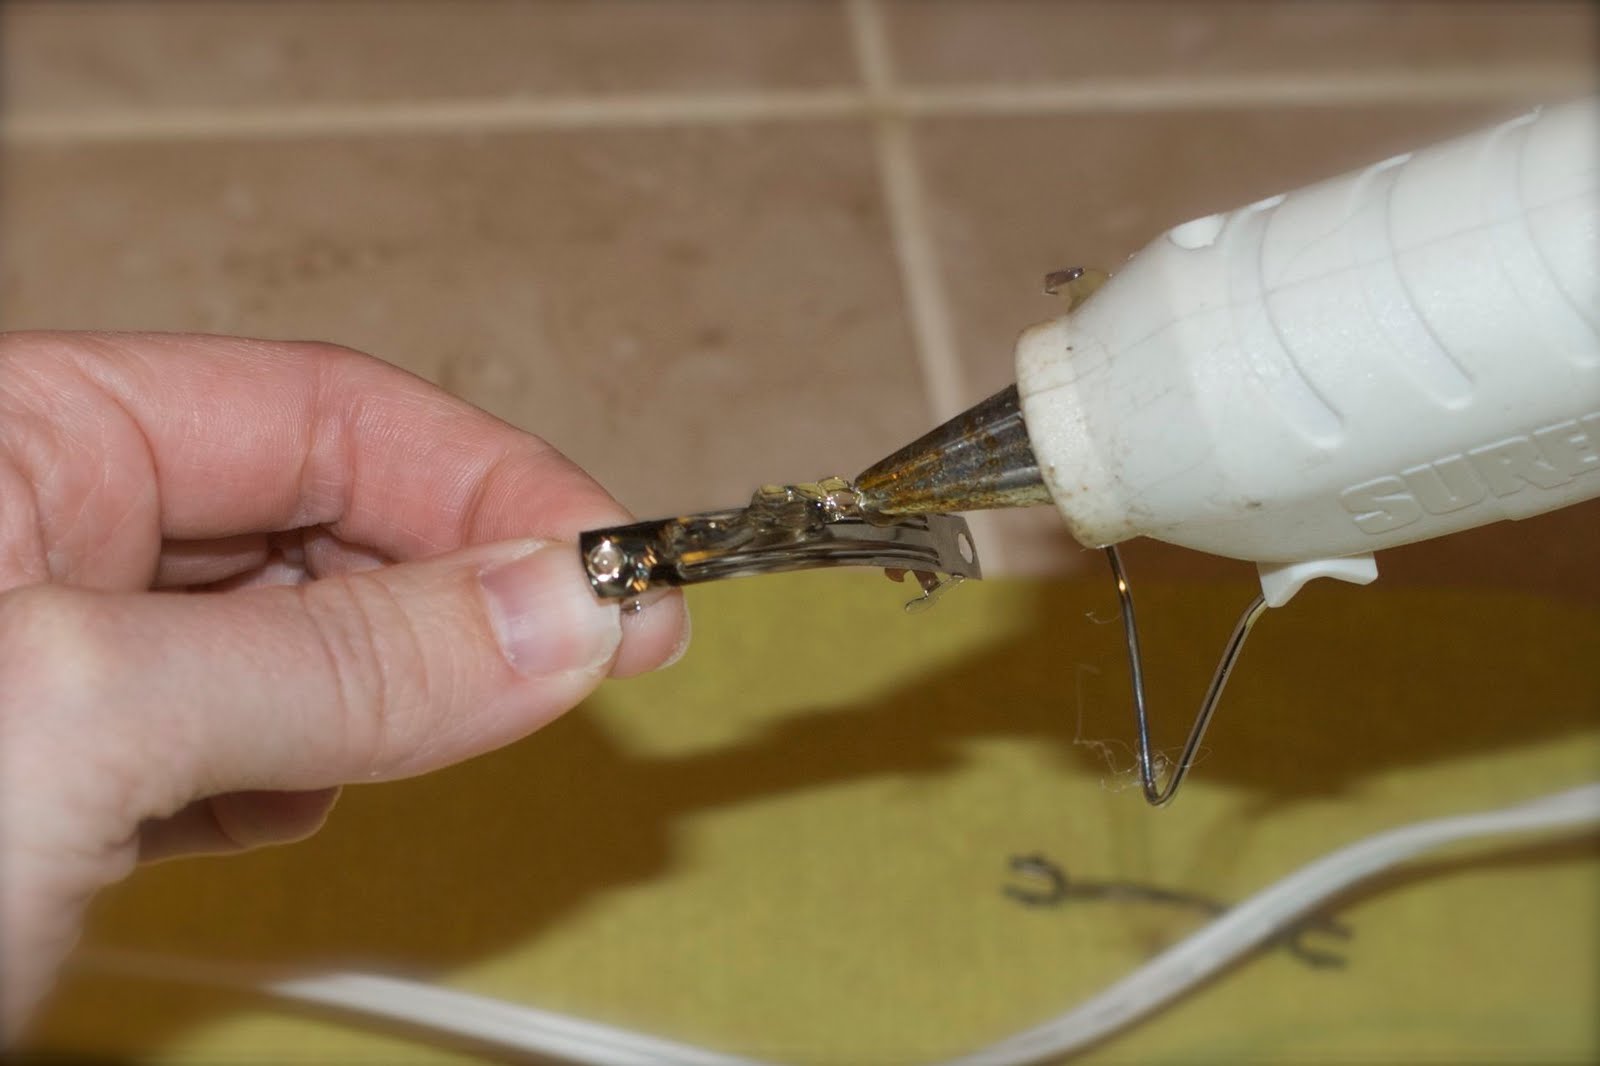
Now run a line of hot glue down the top of your clip.
And stick your stack of curled ribbons onto the clip.
Hold it in place until the glue cools and hardens...
Fluff your bow, and this is what you'll have!!!
You can use two different colors of ribbon in each bow!
(These bows are made with 1/4 ribbon for a baby's head.)
You can make two bows in different colors...
And then stick those two bows on the same pony tail!!!
Now find a victim and put your pretty bow in her hair!!
Never go out without one!
Or four. (Ok, maybe this was a bit much??)
And when your kids tell you it is Crazy Day at school,
stick lots of mis-matched bows in their hair!